Your motorcycle isn’t just an engine and two wheels; it’s a human–machine interface that lives and dies at the contact points—hands, feet, seat, eyes. Most riders obsess over horsepower and exhaust tone, then leave the cockpit bone‑stock and slightly wrong. The result? Blurry feedback, vague control, and fatigue that sneaks up right when you should be most precise.
Dialing in your cockpit is gear tuning at its purest. Levers, pegs, seat, visor, comms, and even the angle of your mirrors all determine how much usable performance you can actually access. This is the layer where ergonomics meets engineering, and when you get it right, the entire bike feels sharper, calmer, and faster without adding a single horsepower.
1. Lever Geometry: Turning Fingers Into Precision Instruments
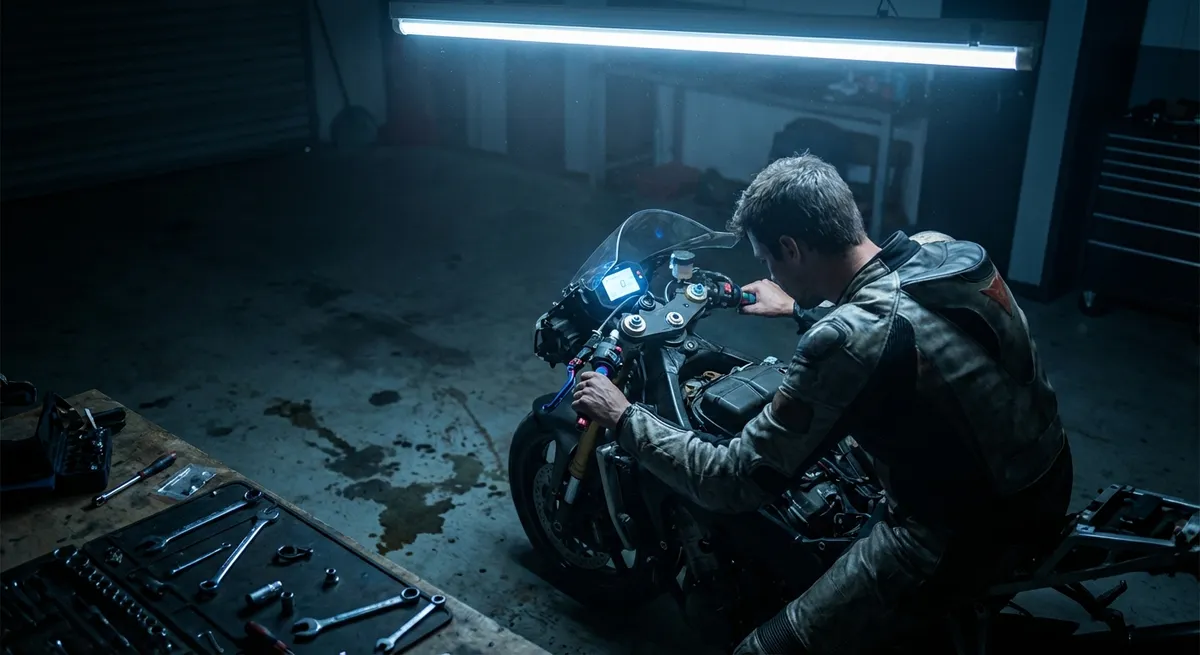
Your clutch and brake levers are mechanical amplifiers: they translate small finger motions into hydraulic pressure and cable pull. Most riders only adjust reach (if at all), but the geometry behind the levers is where real control lives. Ideally, your lever angle should allow a straight line from your forearm through your wrists into your fingers when you’re in your “attack” riding posture—slightly leaned forward, elbows soft, head neutral. If your wrists are cocked up or down to grab the levers, you’re bleeding both fine motor control and endurance.
Set your master cylinder clamps so the levers line up with your natural hand angle when you’re covering the front brake and clutch. On adjustable levers, choose a reach where your index and middle fingers can apply near‑full power without crushing your remaining fingers against the grip. Pay attention to where in the stroke the lever firms up—ideally the “wall” of full braking power or full clutch engagement should be in the strongest portion of your finger curl, not at the very tips. If you’ve changed bars, master cylinders, or brake pads, revisit your lever setup; friction material and hydraulic ratios shift the feel dramatically. When done right, your hands stop “searching” for the lever, and panic stops feel deliberate, not desperate.
2. Foot Control Indexing: Shifter and Rear Brake as a Matched Pair
Shifter and brake pedal position determine how cleanly you can modulate drive and deceleration, especially when hanging off or riding aggressively in traffic. From the factory, these are often set high to avoid litigation and low‑skill mishaps, not to optimize performance. A performance‑tuned setup starts with your neutral foot position: balls of your feet on the pegs, heels in, knees lightly kissing the tank. From there, you should be able to “drop” your foot onto the controls with a minimal ankle movement.
Adjust the shift pedal so a firm but quick upward tap from that neutral foot position yields a clean upshift without you having to pre‑angle your foot. With modern quickshifters, this is critical—too much lever travel or awkward leverage can cause missed shifts or confuse the sensor. On the rear brake, aim for a pedal height that allows you to rest the tip of your boot just above it, then roll on smoothly. If ABS activates the moment you think about braking, your pedal may be too high or your boot sole too soft, causing accidental input.
Consider the stiffness and thickness of your boots when dialing these in; race boots with rigid soles need more throw and leverage than flexible touring boots. If you run rearsets, use their adjustability to maintain a consistent “index” between pegs and controls, not just to raise everything randomly. The goal is repeatable foot placement: your body should always know exactly where the control is, even when you’re leaned over and can’t see it.
3. Seat, Bar, and Tank Triangle: Locking the Rider Into the Chassis
Think of your body and the bike as a linked frame: your seat, bars, and tank form the triangle that determines how efficiently forces travel between you and the chassis. An OEM seat that’s too soft or too sculpted lets you slide around under braking and acceleration, forcing you to hang on with your arms and fry your forearms prematurely. A more supportive seat—or a reshaped stock one—lets your hips anchor into the bike, using skeletal support instead of constant muscle tension.
Bar position controls your leverage over the front tire. On naked bikes and sportbikes, a few millimeters of bar roll (rotating the bar in the clamps) can transform the riding position. Roll too far forward and your wrists hyperextend, loading the heel of the palm and making trail braking feel sketchy. Too far back and your elbows tuck in, reducing steering precision and feedback. You want a stance where your elbows are slightly bent and angled outward, with your chest free to float over the tank, not compressed against it.
The tank shape is your third anchor. Tank pads or grip tape aren’t cosmetic—they’re traction devices for your knees. With proper knee grip, you can brake hard while keeping your upper body light on the bars. This isolates suspension movement from your inputs, letting the fork track more cleanly. When all three—the seat, bars, and tank—are tuned together, you stop “riding on” the bike and start “riding within” it. The chassis feels more stable because you are no longer the loose component.
4. Optical Performance: Visors, Tints, and Visual Bandwidth
Your helmet visor is effectively your HUD window. Optical clarity, distortion, and tint level directly impact how fast your brain can read the road. Many riders underestimate just how much performance they lose with a scratched, cheap, or overly dark visor. High‑quality visors minimize distortion across the entire viewing area, especially at the edges where you’re scanning for hazards during corner entry or shoulder checks. If straight lines look wavy or objects warp as you rotate your head, you’re forcing your visual system to work overtime.
Tint selection is a technical choice, not just a style call. A dark smoke visor on a bright day preserves contrast and reduces squinting, which delays fatigue and keeps micro‑adjustments sharp. In low light, though, that same tint can push your visual system into “survival mode,” where your brain spends more effort just deciphering shapes than analyzing surface texture or reading the body language of cars ahead. Consider photochromic options or carry a clear visor if your rides often cross from day into night.
Don’t overlook anti‑fog performance. A fogged visor is not just annoying; it narrows your effective field of view and kills depth perception. Pinlock systems or factory anti‑fog coatings are worth every cent for riders who push in wet or cold conditions. Keep your visor inside and outside clean with proper cleaners that won’t damage coatings. The sharper your optical interface, the more “bandwidth” your brain has left for line selection, risk assessment, and bike control.
5. Communication and Data: Integrating Comms, Cameras, and Dash Info
Modern rider gear is drifting toward a networked cockpit—Bluetooth comms, cameras, GPS, and even tire pressure monitoring all fighting for your attention. The mistake is bolting everything on and letting it become noise. Properly integrated, these systems become an extension of your situational awareness instead of a distraction.
Start with your comm system and mount location. A well‑placed unit on the helmet should sit in a smooth airflow zone, minimizing wind noise that will drown out prompts and conversations. Pay attention to speaker and mic placement: aim to get clear audio at reasonable volume levels, not maxed‑out gain that introduces distortion and fatigue. Map your device controls so the buttons you use most (volume, next track, intercom on/off) can be hit by gloved hands without “hunting” on the shell.
On the bike, treat your dash like a race display: prioritize RPM, gear, and speed, then secondary data like fuel and engine temp. If your bike supports configurable layouts, use them—place critical info where your eyes naturally fall during a quick glance. Add‑on tire pressure monitoring can be a major safety upgrade, but only if the data is visible and legible at a glance; otherwise it’s just clutter. Cameras and action cams should be positioned to avoid blocking vents or creating buffeting, and wired so there are no loose leads flapping in the wind. The end goal is a quiet information stream: the right data, at the right time, in the least intrusive way possible.
Conclusion
Gear is more than armor and style; it’s the interface layer that decides how much of your bike’s capability you can actually tap into. When your levers mirror your natural hand angles, your feet fall onto perfectly indexed controls, your body locks into the chassis through a tuned triangle, your visor gives crystal‑clear input, and your electronics feed you only the right information, the bike stops feeling “busy” and starts feeling precise.
None of this requires a new motorcycle—only intention and a willingness to treat your cockpit like a system instead of a pile of parts. Adjust, test, refine, repeat. The fastest, safest upgrade most riders can make isn’t in the engine bay; it’s in the way they connect to the machine.
Key Takeaway
The most important thing to remember from this article is that this information can change how you think about Gear & Equipment.


