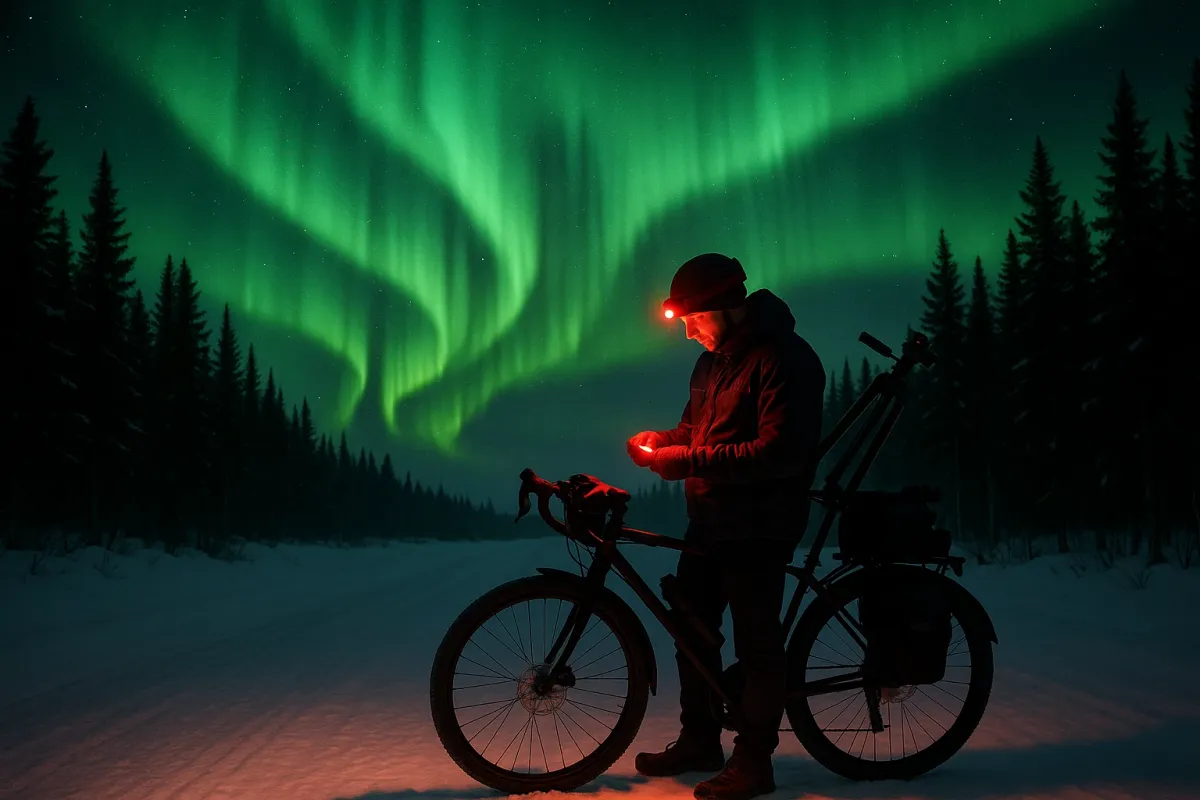
Riders are chasing the sky this winter. Thanks to all the viral content around the Northern Lights—like that recent “Best Places And Times To See The Northern Lights” photo story—more motorcyclists are pointing their front wheels toward dark, remote roads in Iceland, Norway, Finland, Alaska, and Canada, hoping to park under a glowing aurora.
That’s romantic. It’s also technically demanding riding: cold, black tarmac, long distances between fuel stops, and almost no ambient light. If you’re planning a trip like the ones blowing up on Instagram right now—whether on a rental GS in Tromsø or your own ADV in northern Minnesota—you need more than a good camera. You need a night-riding system.
Below are five technical, rider‑focused upgrades (to your technique, not just your bike) that will let you hunt auroras without gambling your hide.
Build A “Dark Road” Visual Strategy (Not Just Brighter Lights)
Everyone talking about Northern Lights trips is posting camera settings; almost nobody is talking about eyeballs. Under an active aurora, the sky may be bright—but the road surface is still a matte-black problem. Your first upgrade is physiological, not electrical.
Your night‑vision system starts 20–30 minutes before you ride. Avoid white phone screens and bright gas‑station lighting—use “night mode” or a red filter if you need your phone for navigation. That preserves rhodopsin in your retinas and significantly sharpens low‑light contrast on the road. On the bike, lock in a scan pattern: far–mid–near. Look as far as your light will reach, then mid‑distance, then just in front of the front wheel, in a smooth cycle. Don’t stare at the brilliant sky; glance up, then bring your eyes back down to the ribbon of tarmac. Finally, keep your visor perfectly clean inside and out; under aurora glow, micro‑smudges and scratches bloom into huge halos that blur everything important—ice patches, snow ridges, and gravel piles.
Tune Your Lighting For Real Contrast, Not Instagram
Aurora riders are flooding social media with LED lightbar setups, but raw lumen numbers don’t tell you if you can actually read the road. What matters is beam pattern, color temperature, and how you aim everything as a system.
For cold‑weather night rides, slightly warmer LEDs (around 4300–5000K) often outperform the “ice blue” 6000K+ units that look cool online. Warmer light cuts backscatter from snow and mist, making edges and texture easier to see. Set your low beam so its cutoff hits the road roughly 35–45 meters ahead at your typical cruising speed, then angle auxiliary lights to fill the shoulders, not just blast the centerline with more brightness. You want a smooth gradient of light, not a hot spot with black voids beyond it. After mounting anything, find a dark, empty stretch and do a slow pass at 20–30 mph, then again at 50–60 mph. Ask: “Can I see and interpret the surface clearly at the speed I’m actually riding?” If the answer is no, adjust beam height and spread until your visual horizon matches your throttle hand.
Master Low‑Friction Control: “Cold-Road” Throttle, Brake, And Lean
Northern Lights hunters are often riding in exactly the conditions most riders avoid: sub‑zero temps, frost on the surface, maybe loose snow dusted over hard asphalt. The grip is lower, but more importantly, it’s inconsistent. Your technique must be deliberately “soft‑edged.”
On throttle, think in percentages rather than twists. Build the habit of rolling on over one full second from neutral to your desired output, even at low speeds; that longer ramp reduces weight transfer spikes that can break rear traction. On brakes, bias the front but pre‑load both. Lightly squeeze the front lever to load the fork and tire, then smoothly increase pressure. If you have ABS, practice threshold braking in a cold parking lot to learn how the system feels when it intervenes on a slick surface. For cornering, decrease lean angle and let speed be the valve you adjust. Instead of thinking “lean to turn,” think “turn the bars gently, keep the bike as upright as possible.” In sketchy conditions, use a late, light apex and keep braking done before you initiate lean; any mid‑corner input—brake, chop, or sharp turn—is magnified on a cold, low‑grip road.
Engineer Your Layering For Rider Performance, Not Just Warmth
Every Northern Lights guide talks about layering for standing still with a camera. Riding a bike at 80 km/h on a -5°C Scandinavian night is a different thermal problem. You’re generating heat, then losing it violently to wind chill. You must manage temperature like a race engineer, not a tourist.
Think in layers with clear roles: moisture management, insulation, and wind block. A tight, synthetic or merino base layer pulls sweat off your skin. Over that, use compressible insulation (fleece or light down/synthetic) sized so it doesn’t bind at the elbows and knees; restricted joints mean slow, clumsy reactions. Your outer shell should be a true windstopper with a high collar that seals to your helmet and long cuffs that sit cleanly under or over gloves without bunching. Add micro‑adjustability: small vent openings you can operate with winter gloves, and a mid‑layer you can stash if you start sweating. Overheating is as dangerous as being too cold; once your base layer is wet from sweat, your “thermal margin” evaporates, and your fine motor control—and with it, braking and throttle precision—start to degrade fast.
Plan “Dark-Zone” Navigation Like A Flight, Not A Road Trip
Aurora chasing pushes riders into the same territory as that viral northern‑lights photographer: remote roads, scarce services, and unpredictable weather windows. Treat your route planning with pilot‑level seriousness if you don’t want the romance to turn into a survival exercise.
Start with range in real cold. Batteries hate low temperatures, and so do carbureted bikes on repeated cold starts. Expect 10–20% less fuel economy at highway speeds in dense, cold air with loaded panniers and winter gear. Build conservative fuel legs with a 30% reserve, not just the usual “I’ll roll in on fumes” mentality. Download offline maps at home; remote northern areas often have spotty coverage, and your phone battery will sag faster in the cold. Keep a small paper map or printed route segment in your tank bag as a fail‑safe. Finally, pick actual abort points before you roll out: specific towns, junctions, or fuel stops where you will turn around if temperatures drop, winds pick up, or your timeline slips. Night riding under an aurora is hypnotic—and that makes it dangerously easy to stretch “just ten more kilometers” into “too far, with no easy way back.”
Conclusion
The Northern Lights craze is pushing riders into some of the most spectacular, unforgiving conditions on the planet. The photos flooding your feed don’t show the black ice under the tires, the crosswinds on the fjord bridges, or the fuel calculations on a frozen E‑road at midnight.
If you want to be out there with them—helmet off, engine ticking as it cools, sky exploding overhead—build the technical foundation first: tune your eyes, your lights, your controls, your thermal system, and your navigation discipline for dark, cold roads. Do that, and your aurora chase stops being a gamble and becomes what it should be: a precise, demanding ride into the kind of night you’ll remember for the rest of your life.
Key Takeaway
The most important thing to remember from this article is that this information can change how you think about Riding Tips.


