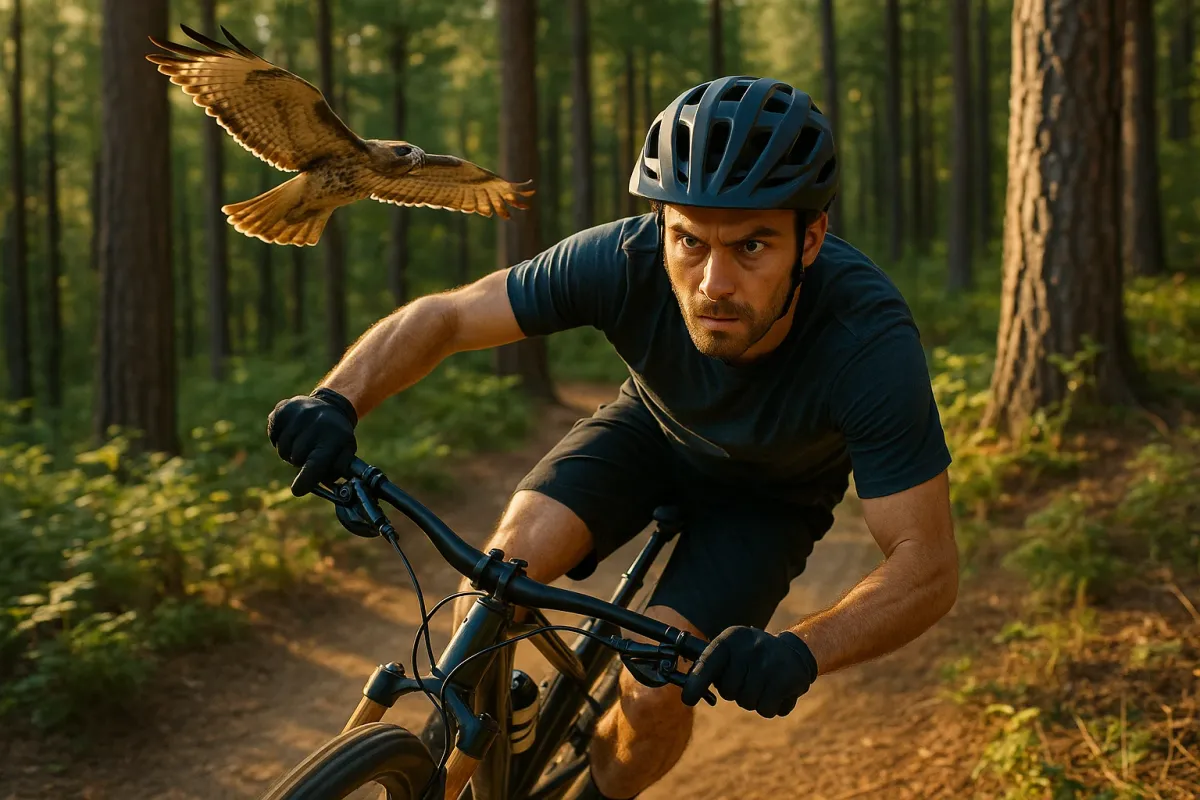
Nature photographers are having a moment again: the latest “Nature Photographer of the Year” winners are blowing up feeds everywhere. Ultra‑telephoto shots of hunting falcons, macro spiders with eyes like alien optics, and those long‑lens moon composites that look completely unreal but are 100% in‑camera.
What does that have to do with bikes? A lot. The same obsessions that win photo awards—light, timing, line, and ruthless attention to small variables—are exactly what separate a merely competent rider from a frighteningly smooth one. If shooters are lugging 10+ kg of glass into the wilderness to capture a split‑second of perfect motion, we can steal their mindset for every corner, every overtake, every wet commute.
Below are five technical riding lessons straight from the way top nature shooters work today—think the discipline you see behind Nature Photographer of the Year–level images, applied to real‑world throttle and lean.
1. “Exposure Triangle” for Riders: Speed, Lean, Grip
Photographers live by an exposure triangle: shutter speed, aperture, ISO. Change one, the others must adapt. On a bike, your triangle is speed, lean angle, and available grip—and the interaction is just as unforgiving.
- Speed is your “shutter.” More speed = more kinetic energy to manage in every change of direction or surface.
- Lean angle is your “aperture.” More lean opens you up to risk: you’re using more of the tire’s edge and reducing margin for mid‑corner corrections.
- Available grip is your “ISO.” Crappy surface? Cold tire? Wet paint? You’re essentially “raising ISO”—trying to get a shot in bad light—which demands cleaner technique and more margin.
- On low‑grip surfaces (cold asphalt, damp patches, gravelly country lanes), think like a wildlife shooter at dusk: you can’t have it all at once. If you want lean, drop the speed. If you want speed, keep the bike more upright and run a wider, later apex.
- In high‑grip conditions (warm, clean tarmac, good tires at correct pressures), you can “open up the aperture” with more lean—but only if your inputs are as smooth as a stabilized 600mm lens. That means:
- Braking done upright or only gently trail‑braked into the first part of the turn.
- Zero mid‑corner panic inputs.
- Throttle rolled on progressively, never jabbed.
Technical takeaway:
When you approach every bend with this triangle in mind, you stop “riding by feeling brave” and start riding like you’re controlling variables in a precision shot.
2. Pre‑Visualizing the Line: How Pros “Compose” a Corner
Award‑winning nature photographers rarely press the shutter by accident. They pre‑visualize the composition: where the subject will be, what the background does, how the light hits. Riders should do the same with every corner: pre‑visualize your line before you commit.
Use a three‑phase mental model:
Entry composition (setup zone)
Just as a photographer chooses where to stand, you choose where your bike “stands” in the lane before turn‑in. Key details: - Move to the outside of your lane to open up sight lines. - Finish primary braking while the bike is still mostly upright. - Lock your vision: eyes up, scanning through the corner to your exit, not at the apex or the car’s bumper ahead.
Apex composition (subject placement)
Photographers want their subject sharp and correctly placed. As a rider, your “subject” is your line over the highest‑risk point: the apex region. - In blind corners, shift the apex later—hug the outside a bit longer until the exit reveals itself. - In known open corners, you can apex earlier but always ask: If something is stopped just out of sight, can I still stop or change line? If not, your “framing” is wrong.
Exit composition (background & flow)
A good photo has a clean background. A good corner has a clean exit path. - Before you lean in deeply, verify your escape path: no standing water, diesel shine, gravel stripes, or merging traffic. - Choose an exit point in your vision and “pull” the bike there with your eyes and gentle bar input, not with abrupt mid‑corner steering.
Every time you enter a bend, run this loop in your head: setup – apex – exit. It turns chaotic roads into planned sequences, the same way a shooter stalks their frame instead of machine‑gunning the shutter and hoping for the best.
3. Reading Surface “Light”: Micro‑Textures and Grip Clues
Nature photographers obsess over light quality—hard, soft, directional, backlit. Riders need that same obsession, but applied to texture and reflectivity of the road. The best part: your brain can learn this as quickly as a photographer learns to read clouds.
Specific, technical tells to watch:
- Specular reflections = low grip.
- Polished tar.
- Diesel or oil film.
- Painted lines or thermoplastic markings.
If late‑day sun or headlights make the pavement flash like a mirror in spots, that’s usually:
Treat these like standing water: load the bike very gently, reduce lean, and avoid braking hard on them.
- “Matte” vs. “shiny” tarmac.
- Matte, dark, finely textured asphalt = usually good grip when dry.
- Gray, polished, or patchwork surfaces = often reduced micro‑texture, especially in the wheel tracks. Shift slightly left/right in your lane to stay on fresher aggregate.
- Aggregate size and color.
- Coarse, visibly chunky aggregate = noisy tires, decent mechanical keying = often good grip, but can be sketchy when wet.
- Very smooth surfaces or chip‑seal with loose stones scattered = treat like loose gravel: upright, minimal lean, gentle throttle and braking.
Training drill:
On a familiar road, ride at 70–80% pace and narrate surfaces in your helmet (out loud if you can): “dark matte… polished patch… paint line… tar snake… fresh chip seal.” This is exactly what wildlife shooters do mentally with light. You’re teaching your brain to flag grip variations before you feel them in the bars.
4. Stabilization and Body Position: Becoming Your Own Gimbal
Modern nature rigs strap huge lenses to tripods, monopods, or in‑lens stabilization to keep the subject sharp. Riders don’t get gimbals—but body position and core engagement serve the same purpose: they stabilize the “sensor” (your eyes and inner ear) and free the bike to move underneath you.
Technical points to dial in:
- Lower body lock‑in.
- Braking.
- Initial turn‑in.
- Mid‑corner bumps.
Grip the tank with your knees and lightly with your thighs, especially during:
This keeps your upper body relaxed, just as a tripod keeps the camera steady while the lens tracks.
- Neutral spine and hinge at the hips.
- Keeps your head stable.
- Reduces bar input from bumps.
- Lowers your center of mass relative to the bike.
- Head as the “horizon stabilizer.”
- Tilt your jaw toward the inside mirror.
- Keep your eyes level with the road horizon.
- This improves vestibular comfort and lets you judge lean and closing speeds more accurately.
- Relaxed upper body, “floating” hands.
Don’t hunch over the bars. Keep a neutral back and hinge at the hips, sliding your upper body slightly forward and inward for turns. This:
Photographers keep the horizon level; you keep your head level-ish even while the bike leans. Actively:
Think light, precise contact—like a photographer fingertip‑pressing a shutter on a 600mm lens. If your forearms are tense, your inputs become jittery corrections instead of smooth arcs.
Practice on long sweepers: focus only on locking with legs, relaxing arms, and keeping your head stable while the bike dances beneath you. That’s your built‑in stabilizer doing its job.
5. Burst Mode vs. Single Shot: When to Be Smooth, When to Be Decisive
Top wildlife shooters use both single‑shot for composed, deliberate frames and high‑speed burst for unpredictable action. Riders need that same switch between:
- Continuous, smooth control, and
- Short, aggressive but controlled “bursts” of input when the situation changes fast.
Think in terms of control “modes”:
- Smooth Mode (Single Shot)
- Constant, very gradual throttle roll.
- Gently applied, progressive braking.
- Minimal line adjustments—steering with tiny bar inputs and body weight.
Use this 90% of the time:
This is your “tripod and remote shutter” riding: deliberately boring, unbelievably efficient.
- Decisive Mode (Burst)
- A car drifting into your lane.
- A deer stepping out of the ditch.
- Gravel mid‑corner on your planned line.
- Firm, straight‑line braking before the corner if you’re too hot.
- A decisive counter‑steer push to alter line if something’s in your path.
- A committed stand‑the‑bike‑up reaction before hard braking on poor surfaces.
The road throws you:
In these moments, timid micro‑corrections get you in trouble. You need clean, committed inputs:
Training drill:
On an empty, safe road or training lot, alternate:
- Laps of ultra‑smooth mode: Pretend you're shooting landscapes on a tripod—no jerks, no surges.
- Controlled aggression reps: Emergency stop practices, quick swerves, deliberate line changes with strong counter‑steer, then right back to smooth.
Like a photographer switching between single‑shot and burst, you’re not “always aggressive” or “always gentle”—you’re choosing the correct mode for what the road gives you.
Conclusion
The images winning Nature Photographer of the Year aren’t luck; they’re the visible tip of a massive iceberg of discipline: reading light, pre‑visualizing action, managing variables, and knowing when to be patient versus decisive. Every kilometer you ride offers the same canvas.
If you start thinking like those photographers—treating speed, lean, and grip as a technical triangle, composing every corner, reading the “light” on the tarmac, stabilizing yourself like a gimbal, and switching intelligently between smooth and decisive modes—you stop being a passenger on your own motorcycle and become the one making the shot.
The next time one of those viral moon or wildlife shots crosses your feed, don’t just double‑tap it. Ask yourself: What did they control to make that frame happen—and what’s the riding equivalent I can apply on my very next ride?
Key Takeaway
The most important thing to remember from this article is that this information can change how you think about Riding Tips.


