There’s a reason those “50 Beautiful Old Houses” galleries are blowing up right now: people can’t look away from machinery and structures that should be dead by now—but aren’t. Timber that’s seen six generations. Iron hardware polished by a hundred years of hands. Craftsmanship that shrugs at time and weather.
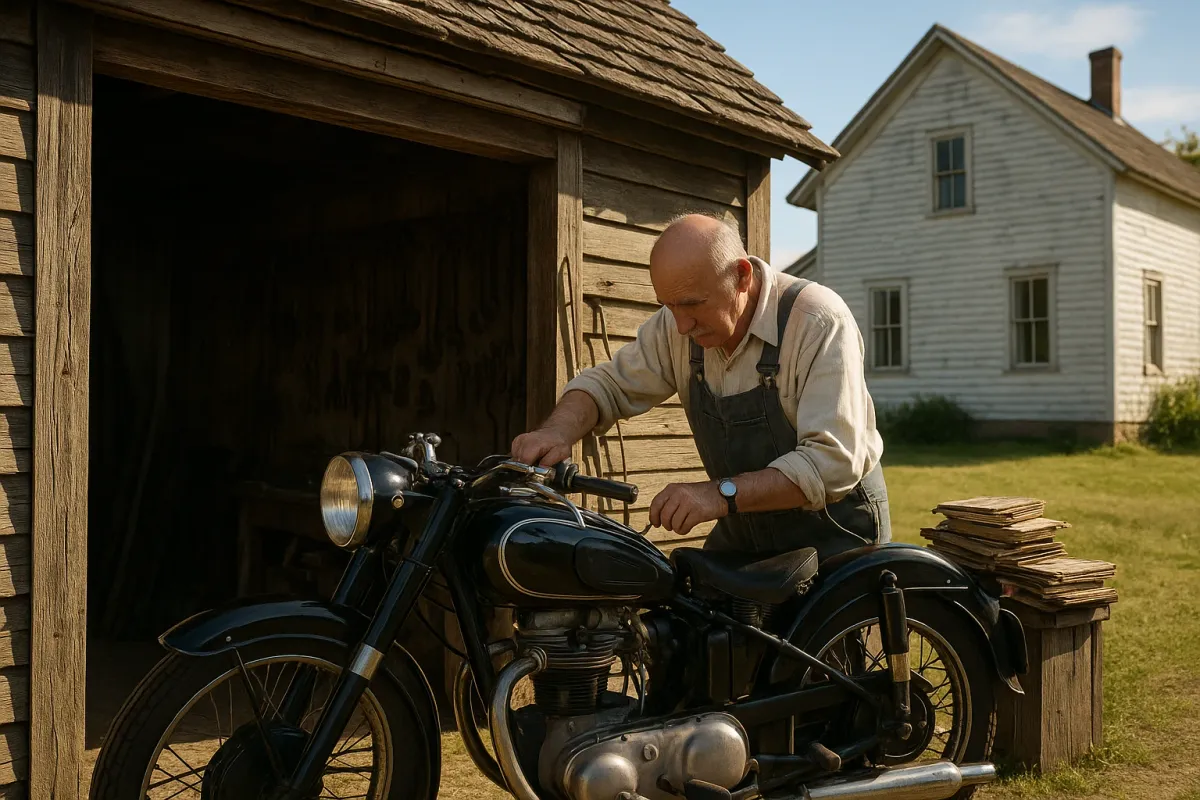
If you ride, that same energy is sitting in your garage.
The same principles that keep a 120-year-old house standing straight can keep your 20-year-old V‑twin, 90’s inline‑four, or air‑cooled single feeling tight while newer bikes around it start to rattle themselves to death. So let’s steal some lessons from those old buildings going viral today—and turn them into hard, technical maintenance habits for your motorcycle.
1. Foundations First: Chassis Alignment and Fastener Integrity
Old houses survive because the foundations and load paths were right from day one—and continuously maintained. Motorcycles are the same: if the chassis isn’t straight and the structure isn’t tight, every other upgrade is lipstick on a cracked wall.
Key checks riders skip—but shouldn’t:
- Steering head bearings:
- Get the front wheel off the ground.
- Turn the bars lock to lock slowly.
- Feel for notches, indexing, or heavy spots—that’s brinelled races.
- Then push/pull the fork legs front to back; any “click” is play.
- Replace with quality tapered roller bearings (e.g., All Balls, Koyo), properly preloaded.
- Torque the stem nut using the service manual spec, then recheck after 500–1,000 km as bearings bed in.
- Swingarm and linkage bearings:
- With the bike on a stand, grab the rear wheel at 3 and 9 o’clock and 12 and 6 o’clock.
- Any lateral or vertical play that’s not from the wheel bearings = swingarm or linkage wear.
- Pull the linkage apart, clean, inspect needles and races with a bright light.
- Pack with moly fortified waterproof grease (e.g., Bel-Ray Waterproof, Motorex 2000).
- Replace any pitted/zinc-flaked needle bearings and seized sleeves.
- Critical fastener retorque:
- Engine mount bolts
- Subframe bolts
- Triple clamp pinch bolts
- Axle pinch bolts
- Brake caliper bolts
Old houses get joists re‑pegged; your bike needs periodic structural re-torque:
Use a calibrated torque wrench, follow the manual sequence, and note anything that moves more than ~⅛‒¼ turn from last check—that’s structural settling or prior over/under‑torque.
A bike with a straight, tight structure rides like a freshly plumbed house: no creaks, no vague steering, no weird geometry changes mid‑corner.
2. Weatherproofing Like a Victorian Roof: Corrosion Control and Surface Protection
Those houses in the photos are old, but they’re not rotten, because owners fought moisture and oxidation relentlessly. Your bike lives under the same enemy: water, salt, UV, and thermal cycling.
Treat corrosion like a system, not an afterthought:
- Fasteners and exposed metal:
- After a deep wash, blow dry with compressed air or a leaf blower.
- Hit exposed bolts, brackets, and seams with a thin-film corrosion inhibitor (e.g., ACF‑50, Boeshield T‑9, S100 Corrosion Protectant).
- Avoid spraying rotor faces, pad surfaces, belt drives, and tires.
- For winter or coastal riders, this is non‑negotiable; reapply every 4–6 weeks.
- Hidden moisture traps:
- Under the tank around the backbone frame
- Under seat and tail plastics
- Lower triple clamp and steering lock cavity
- Inside front fender and fork brace areas
Just like voids in old roofs, your bike has rot zones:
Pop panels, remove the tank annually, clean out caked mud and salt, dry thoroughly, then coat metal with a light corrosion protectant. Mud is a sponge that keeps steel permanently wet.
- Chain as structural hardware:
- Clean with a dedicated chain cleaner or kerosene, soft brush, no harsh solvents on O/X/Z‑rings.
- Lube after rides while the chain’s still warm so the carrier penetrates better.
- Use a quality chain lube that matches your riding (dry/wax for clean, wet/sticky for all‑weather).
- Check slack with rider load in mind; most people set chains too tight, which is equivalent to loading a roof beam beyond spec—eventually something cracks.
Builders oil their hinges; you should treat your chain with the same respect:
Rust doesn’t show up all at once. It begins with neglect at the edges. House owners know that; serious riders learn it.
3. The Plumbing Never Lies: Fuel, Oil, and Breather Systems
Those old homes that still have original copper or cast iron plumbing survived because people flushed, descaled, and updated critical runs on time. Your bike’s fluids and breather systems are the same story in miniature.
Focus on flow control, not just fluid changes:
- Fuel system conditioning:
- Use fresh fuel; anything older than ~4–6 weeks in a carb bike is suspect.
- For bikes that sit, run a fuel stabilizer and fill the tank to the brim to reduce condensation and tank rust.
- Every 1–2 seasons, pull the tank and inspect inside with a borescope or bright flashlight. Treat early rust with a high-quality tank treatment, not just “hope.”
- EFI bikes: replace fuel filters at intervals; high‑mileage pumps get noisy before they die—just like pipes that knock before they fail.
- Engine oil as structural health indicator:
- Cut open oil filters on high‑mileage engines; inspect the pleats for sparkly metal vs fine dust.
- Silver, non‑magnetic flakes = aluminum (pistons/cases); magnetic = steel (cams/gears).
- Always use the manufacturer’s viscosity spec, but consider higher HTHS (High-Temperature High-Shear) oils if you ride hot, slow traffic or track.
- Short‑trip city riders: change by time, not just mileage. Moisture and fuel dilution build faster than your odometer suggests.
- Breather and crankcase ventilation:
- Check the crankcase breather hose for kinks, cracks, or emulsified “mayonnaise” (oil-water mix).
- On high blow‑by engines, consider a catch can to keep oil out of the airbox and preserve clean fueling.
- Ensure any reed valves or PCV devices are clean and functional; excessive crankcase pressure will find gaskets to push out.
Today’s pump fuel with ethanol is brutal on old tanks and rubber:
Houses use inspection ports; you have the drain pan:
Old buildings mold when airflow is blocked; engines sludge when breathers clog:
Good plumbing doesn’t just move fluid; it preserves the structure upstream and downstream. Same for your motorcycle.
4. Structural Wood vs. Structural Torque: Suspension Maintenance That Actually Matters
Look at those old beams in heritage houses—they’re straight because they weren’t just decorative, they were load‑bearing and maintained. Suspension is your motorcycle’s load‑bearing skeleton, and most riders treat it like trim.
Treat suspension like a structural overhaul, not a cosmetic bolt‑on:
- Fork service intervals that match reality:
- Manufacturers assume ideal conditions. Real-world: if you ride all season, fork oil is beat by 20–25k km or 2–3 years.
- Old fork oil shears down, aerates faster, and contaminates bushings and seals—just like silted water rots structural wood in old houses.
- When servicing:
- Measure spring free length vs spec.
- Inspect bushings for copper showing through Teflon.
- Upgrade to a proper fork oil weight matched to your weight and riding (not just “whatever the parts counter had”).
- Shock fade is structural fatigue, not “aging gracefully”:
- Most OEM shocks are tired by 30–40k km; many are effectively dead by 50k.
- Look for:
- Excessive squat on throttle
- Chatter or harshness over sharp bumps
- Rebound so slow it “packs down” through a series of bumps
- Rebuildable shocks: change oil and nitrogen charge based on hours, not vibes. Non‑rebuildable: budget for replacement, not denial.
- Torque, then measure sag:
- Torque all suspension pivot and axle fasteners to spec.
- Set static and rider sag properly front and rear:
- Typical road baseline: ~30–35 mm front, 30–40 mm rear (varies by bike/design).
- Adventure/off‑road: more, but balanced.
- If you’re at max preload and still under-sprung, it’s a spring rate problem, not an adjustment problem.
You wouldn’t level a house on shifting footings. Before setting sag:
Suspension kept in spec is like a well-framed floor: it doesn’t creak, it doesn’t surprise you, and it doesn’t suddenly fail with all the load on it.
5. Wiring Like Knob-and-Tube Done Right: Electrical Reliability and Load Planning
Those century-old houses running updated electrical quietly through old bones? That’s future‑proofing. Your motorcycle’s harness is the same: once hacked, spliced, and ignored, it becomes the #1 cause of “mystery gremlins.”
Build your bike’s electrical system like a good retrofit, not a DIY fire hazard:
- Connector hygiene:
- Open key connectors annually: ECU, regulator/rectifier, stator output, handlebar switchgear, main fuse block.
- Inspect for green oxidation, burnt pins, and moisture tracks.
- Clean with proper contact cleaner, then apply a non‑conductive dielectric grease on seals and backs of connectors—not on the mating surfaces themselves (unless very thinly).
- Pay special attention if you ride in rain, wash with pressure, or live coastal.
- Charging system load test:
- At idle and ~3–4k rpm, measure voltage across the battery terminals:
- 12.6–12.8 V engine off, fully charged
- ~13.5–14.5 V at 3–4k rpm, lights on
- Anything under ~13.2 V at cruise is marginal; over ~14.8 V is cooking the battery and electronics.
- Inspect stator plugs and reg/rec plugs for heat discoloration. Upgraded MOSFET regulators are the “modern wiring in an old house” of the moto world.
- Accessory load mapping:
- Check alternator output spec in the manual (e.g., 350 W @ 5k rpm).
- Subtract baseline draw (EFI, ignition, lights—often 180–250 W).
- What’s left is your reliable accessory budget, not the number printed on the side of the fuse.
- Run high-draw accessories via relay-fed circuits directly from the battery, properly fused, not piggybacked onto fragile OEM illumination circuits.
- Grounding as the backbone:
- Pull main ground straps (engine to frame, frame to battery), wire‑brush both mating surfaces to bright metal, reinstall with a thin smear of conductive anti‑corrosion compound.
- Add an auxiliary ground strap if your frame coating or powdercoat is thick around the lug.
LED spots, heated grips, smart dashboards—like stacking appliances on one old circuit.
Old houses rot at moisture‑heavy joints; bikes fail at crusty grounds:
Good electrical is invisible when it works and infuriating when it doesn’t—just like the wiring in a 100‑year‑old townhouse. Build it like you expect it to last decades.
Conclusion
Those photo sets of beautiful old houses trending right now aren’t just nostalgia—they’re proof. With the right foundations, smart weatherproofing, disciplined plumbing, honest structural work, and properly planned electrics, age becomes a flex, not a failure mode.
Your motorcycle is no different.
Treat your frame like a foundation, your fluids like plumbing, your suspension like load‑bearing beams, and your wiring like a meticulously retrofitted grid. Do that, and 20 years from now your “obsolete” bike will ride past the latest model the way a well‑kept 19th‑century house silently outlives the fourth generation of disposable construction around it.
If a century-old building can still feel tight, straight, and alive, your bike has no excuse.
Key Takeaway
The most important thing to remember from this article is that this information can change how you think about Maintenance.


