Nature Photographer of the Year 2025 just dropped its winning images, and the internet is (rightfully) losing its mind. Razor‑sharp owls frozen mid‑attack, foxes ghosting through fog, big cats launching from shadow to sunlight—every frame is a masterclass in timing, anticipation, and understanding how animals move through space.
If you ride, this isn’t just pretty wallpaper. It’s a survival manual.
The same skills top wildlife photographers used to nail those award‑winning shots—pattern recognition, reading micro‑movements, understanding terrain, knowing how light hides or reveals danger—are exactly the skills that keep you upright when a deer, dog, or distracted human steps into your line.
Let’s turn those 2025 wildlife images into a technical riding toolkit you can actually use on the road today.
1. Train “Predator Focus”: How To Scan Like A Telephoto Lens
Look at this year’s winning portraits: the subject is tack‑sharp, the chaos around it is blurred. That’s how your brain needs to work at speed.
On the bike, most riders either:
- Stare at the road directly in front of the front wheel (tunnel vision), or
- Glance around randomly without structure (visual noise)
Borrow from pro wildlife shooters instead and build a deliberate scan pattern:
- Primary focal zone (3–6 seconds ahead):
At 60 mph (≈100 km/h), that’s ~270–330 feet (80–100 m). Your eyes should spend 60–70% of the time here, reading the “scene” for movement, gaps, and threats.
- Secondary scan (periphery + mirrors):
Every 4–6 seconds, sweep mirrors and side periphery—exactly like recomposing a shot. You’re checking closing speeds, lane position options, and escape routes.
- Micro‑checks near field (0–2 seconds ahead):
Quick, fast refocus for road surface detail: gravel, tar snakes, potholes, painted lines. Look, confirm, then snap eyes back up to the primary zone.
Technical drill (works on any commute):
- Pick a landmark ~4–5 seconds up the road.
- Count how many seconds your eyes stay locked near the front wheel.
- Actively force your eyes up; think, “primary frame first, details second.”
- Add a mirror sweep every traffic light or major road marker.
Your aim is to ride with composition discipline: big picture first, detail second. Just like a wildlife pro doesn’t chase every leaf in the frame, you stop chasing every tiny motion and stay locked on what actually matters.
2. Learn Animal Body Language: Pre‑Movement Cues You Must Recognize
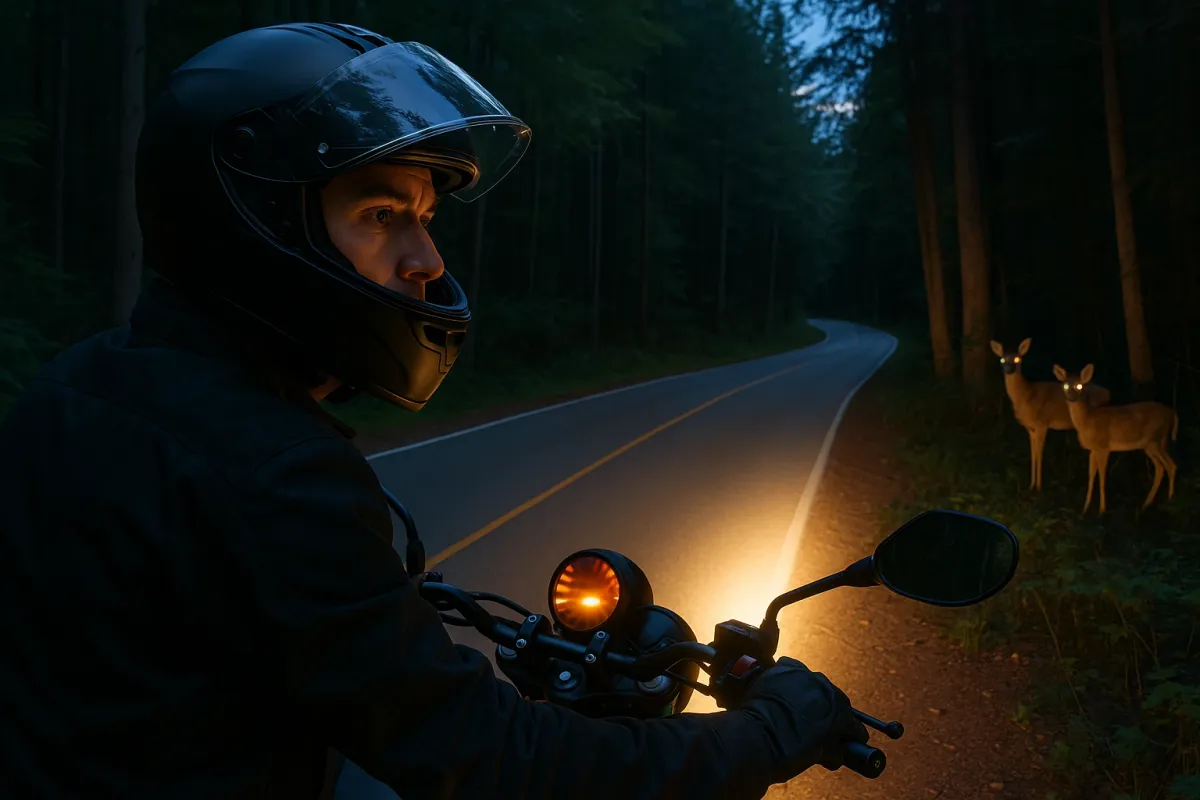
Those nature‑winning fox and deer shots aren’t luck—photographers wait for a specific pre‑movement pattern before they hammer the shutter. On the bike, those same micro‑signals are your 0.5‑second head start that keeps you from center‑punching a deer.
Key cues to memorize:
- Deer / antelope‑type animals
- Head snaps up from grazing → they’ve shifted from feeding to threat assessment.
- Ears rotate toward you or flick rapidly.
- They “freeze” but with muscles visibly loaded—chest slightly forward, weight off the hind leg.
- Tail stiff or flicking faster than before.
On a motorcycle, treat this as: assume entry onto the road is imminent. Roll off gently, build a safety margin, and open a clean escape line.
- Dogs
- Stance triangles: front feet wide, weight in front → likely to lunge or chase.
- Head turns, ears perk, hips and shoulders align with your heading.
- If they track you with their whole head instead of just their eyes, they are mentally “locked on.”
- Birds near the road
- Repeated wing lifts without full takeoff—this is the “I’m about to bolt” tell.
- Flocks compacting tightly on a line or wire when a truck or bike approaches.
- Any time you scan and see an animal with attention + alignment (its body pointed in a vector that intersects your path), you:
- Immediately adjust to a slightly wider line, not tighter—gives you more vision and more deviation room.
- Roll off 5–10 mph early; don’t wait until you’re on top of it.
- Cover front and rear brakes and pre‑load your right wrist for a controlled roll‑off, not a panic chop.
Technical riding adaptation:
Think like a shooter tracking a subject: once the animal “locks on,” you act as if the shutter (or in your case, the impact) is about to happen unless you change something.
3. Use Light Like A Photographer: Seeing Through Glare, Shadow, And Backlight
This year’s winning nature shots are packed with hard backlight—silhouetted stags at sunrise, owls dropping out of burned‑out white skies—and yet you can still read detail. That’s because good photographers understand what harsh lighting hides and reveals.
On the road, bad light is one of the biggest invisible crash multipliers:
- Low sun (early morning / late afternoon)
- Sun at or near the horizon compresses contrast: animals and pedestrians become near‑black shapes against bright backgrounds.
- For the driver pulling out of a side road into your path, you are the black shape they can’t see.
- If the sun is behind you, assume drivers ahead looking toward you have impaired vision—add extra following distance and delay overtakes.
- If the sun is in your face, nudge your lane position to change the angle of glare in your visor, and back off the throttle. You’re effectively riding into the worst possible dynamic range.
- Sharp shadow bands (forest roads, tree‑lined backroads)
- Just like in wildlife images of tigers slipping between sun and shade, animals (and potholes) vanish in compressed shadow.
- Motion detection is harder when an object moves from dark to dark through strips of light.
- Shift to a gear that gives you fine throttle control around mid‑RPM, not high‑RPM snappiness.
- Reduce speed enough that you can positively ID anything crossing from shadow to light before you’re on top of it.
- Use micro‑hovering on the rear brake to stabilize the chassis over unseen bumps without pitching.
- Headlight and auxiliary light strategy
- Use a distinct light pattern, not just brightness: staggered auxiliary lights or a triangle layout helps break your silhouette out of visual clutter.
- In heavily wooded or high‑wildlife zones, run low‑beam plus well‑aimed aux lights with a broad beam—similar to how a photographer uses a soft fill light to pull detail out of the shadows.
Riding response:
Riding response:
You’re not just “riding in bad light.” You’re managing dynamic range exactly like you would exposing a difficult shot: protect your ability to distinguish contrast where threats live.
4. Read Terrain Like A Wildlife Guide, Not A Tourist
Every winning landscape in Nature Photographer of the Year tells you something about where animals will be: choke points, water sources, tree lines, clearings. Riders rarely think this way; we just see “scenic twisties.”
Start thinking like a wildlife guide plotting animal movement, and your hazard anticipation goes way up:
- Edges are danger zones
- Tree line to field.
Ditch to open road.
Riverbank to bridge approach.
- These “transition lines” are where animals cross and where photographers wait.
- Any time you cross a sharp edge (forest → field, buildings → open land), pre‑decide: “Visibility is reduced; wildlife probability is up.”
- Slightly reduce speed and shift to a line that increases sight distance, not simply the “fast” apex.
- Water crossings and depressions
- Natural funnels. Animals and humans both converge here.
- Look for damp ditches, culverts, and low points in the terrain—classic crossing points.
- Treat every bridge or obvious culvert as an elevated risk segment.
- Stay off the absolute edge of the road where gravel and mud collect, especially on the exit—exactly where an animal might slip or hesitate in front of you.
- Crop patterns and ground cover
- Tall crops right up to the verge = zero reaction time when something pops out.
- Short grass with scattered trees = high visibility; safer to carry more pace.
- When fields or vegetation form walls along the road, your “tech pace” should drop to match your visible braking distance.
- Technical benchmark: you should always be able to stop within the distance you can clearly see the road surface and both verges. If your speed exceeds that, you’re riding like a photographer using a shutter speed too slow for the subject.
Riding response:
Riding response:
Adaptation:
This is about systematizing your terrain reading: you’re not surprised by the deer, dog, or tractor because you already knew that segment was a funnel.
5. Build Reaction Time Like Burst Mode: Braking, Steering, And Escape Lines
Those nature‑winning sequences of an owl diving or a wolf sprinting? They aren’t one perfect lucky frame—they’re the best shot from a burst where everything (timing, focus, stability) was ready in advance.
You need the riding equivalent of burst mode: pre‑loaded, repeatable reactions that fire cleanly when something moves into your lane.
Technical components:
- Braking readiness
- Two fingers resting on the front brake lever in high‑risk zones (forest, dusk/dawn, farmland).
- Rear brake foot lightly touching the pedal—not riding it, just eliminating travel time.
- Body slightly rearward with knees locked on the tank: pre‑positioned for decel, so you’re not yanked onto the bars when you grab brake.
Goal: Reduce your “decision to decel” time by ~0.2–0.3 seconds. At 60 mph, that’s 18–26 feet (5.5–8 m) of extra runway.
- Escape‑line habit
- In any situation where your brain says “this feels sketchy,” ask one question on repeat:
- Left shoulder? Right shoulder? Between two cars? Hard brake in lane?
“If something appears here, where do I put the bike?”
You don’t wait to solve it when the deer jumps; you’ve already cached an answer.
- Steering input discipline
- Practice single, decisive counter‑steer inputs instead of a series of nervous, small corrections.
- On a clear empty road, at moderate speed, deliberately practice quick but controlled lane shifts:
- Pick a painted dot or marker.
- Instant steer to move half a lane over by that point, then back.
- Stay smooth; no bar shake.
This mimics the emergency “swerve then stabilize” you’ll need if an animal steps out too close to simply brake.
- Mental frame rate (“seeing more in less time”)
- Nature shooters talk about “shooting at high frame rate but thinking slowly”—their cameras click fast, but their decision‑making stays calm.
- On the bike, that means your inputs happen fast (brake, steer, roll‑off), but your mind doesn’t panic and stack more inputs on top.
- When something startles you (a car edging out, a bird flaring near the road), do exactly one corrective input—brake OR swerve, not both—and then consciously freeze further changes for half a second while you reassess.
Drill:
You’re teaching your body to fire a clean, single “shot” reaction instead of a messy spray of guesses.
Conclusion
The 2025 Nature Photographer of the Year winners aren’t just jaw‑dropping desktop backgrounds—they’re a brutally honest reminder that the world around us is alive, fast, and indifferent to our trajectory.
Wildlife photographers survive and succeed by respecting that reality: they study how animals move, how light hides them, how terrain funnels them, and how to be ready before anything happens. Riders who do the same buy themselves meters of space and fractions of a second—exactly the currency crashes are paid in.
Next time you scroll through those award‑winning images, don’t just think, “That’s a cool shot.” Ask yourself:
- Where would that animal have come from if this were my lane?
- What light would hide it from me?
- What would my escape line be?
Then take that mindset to the road and ride like the photographer who already knows what’s about to enter the frame.
Key Takeaway
The most important thing to remember from this article is that this information can change how you think about Riding Tips.


