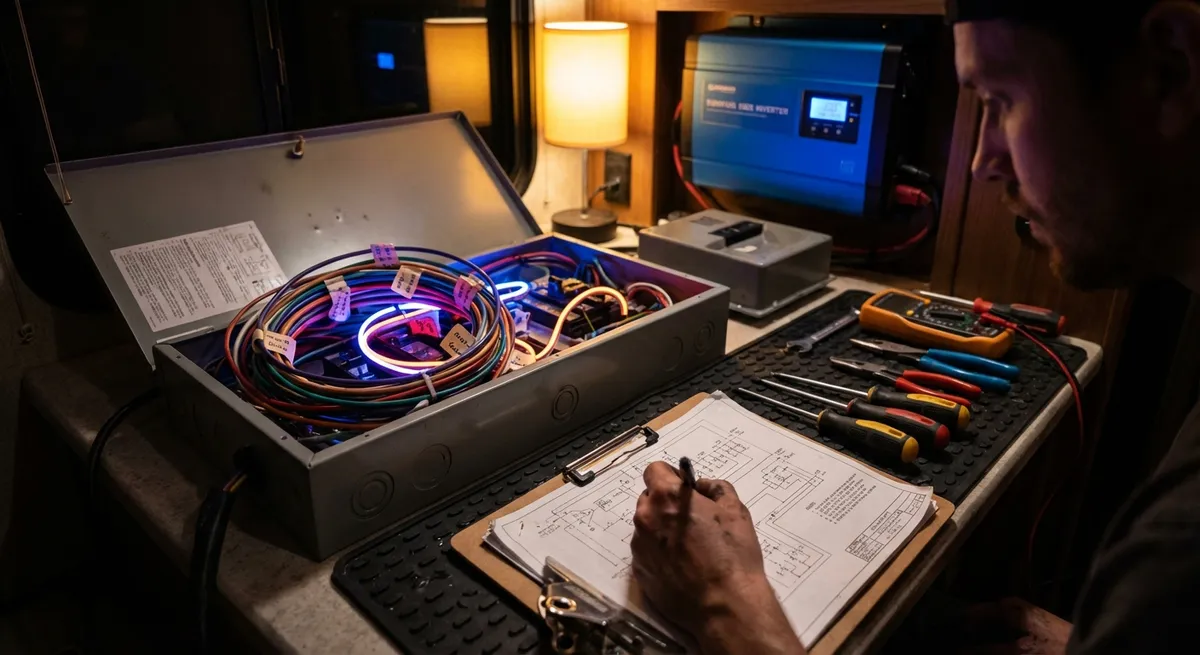
Motorcycles don’t usually die in a blaze of glory. They die quietly—one weak ground, one corroded connector, one overworked stator at a time. If you’ve ever heard the click of a starter relay and felt your stomach drop, you know: electrical reliability isn’t optional; it’s core to every ride you plan, every corner you attack, and every tour you finish. This is maintenance at the signal level—voltage, resistance, current—not just oil and chains. Let’s build an electrical system that’s as disciplined as your riding.
Building an Electrical Baseline: Measure, Don’t Guess
Most riders “fix” electrical problems by swapping parts: battery, regulator, rectifier—wallet first, multimeter second. That’s backward. A reliable bike starts with a documented electrical baseline you can compare against for years.
You want three foundational measurements on a fully charged, healthy system:
Resting battery voltage (bike off, 12+ hours after charging):
- Lead-acid AGM: ~12.6–12.8 V - Lithium (LiFePO4): often ~13.2–13.4 V (check your manufacturer’s spec)
Cranking voltage (starter engaged, kill switch run, plugs connected):
- Healthy battery/system: usually stays above ~10.0 V while cranking - Drop into mid 9s or lower = high resistance in cables/grounds or battery weakness.
Charging voltage at the battery terminals (engine fully warm):
- At ~3–4k rpm: typically 13.8–14.5 V for most bikes - Below ~13.0 V: undercharging issue (stator, regulator, wiring) - Above ~15.0 V: overcharging (regulator failure or ground path issue).
Log these numbers in a notebook or spreadsheet with date, mileage, and ambient temperature. This becomes your “ECG” for the motorcycle’s electrical system. If your 4k rpm charging voltage trends downward over months—from 14.3 V to 13.6 V—you’ll see the failure coming before it becomes a roadside reality.
Ground Path Engineering: Stopping Voltage Loss Before It Starts
Most electrical weirdness is not black magic; it’s bad ground design. Your motorcycle’s negative return path is every bit as important as the positive feed. Riders obsess over upgraded stators and lithium batteries, then run all that through corroded frame grounds and half-stripped ring terminals.
Focus on these ground-path fundamentals:
- Clean, metal-to-metal contact: Remove main ground lugs from frame/engine. Use a Scotch-Brite pad or fine emery cloth to expose bare metal. Clean with isopropyl alcohol, let dry, then reassemble.
- Torque and mechanical security: Loose ground lugs become resistors under vibration. Use a torque wrench if your service manual specifies values; otherwise, snug plus a quarter-turn is a safe rule—but avoid over-torquing in aluminum.
- Star-ground strategy on accessories: If you’ve added heated grips, auxiliary lights, GPS, or USB chargers, don’t scatter grounds randomly. Use a small bus bar or fused distribution block with a dedicated return to the battery negative or a single, known-good frame ground. This reduces ground loops and intermittent dropouts.
- Voltage drop testing: With the bike running and a load switched on (e.g., high beam + brake light + fan), measure:
- Battery negative to frame ground
- Battery negative to engine case
- Battery negative to accessory ground point
You want effectively 0 V or very close (<0.1–0.2 V). Anything higher says “resistance lives here.”
Treat your grounds as designed components, not afterthoughts. The moment you do, phantom faults and intermittent stalls start to disappear.
Harness Integrity: Engineering for Vibration, Heat, and Time
Your wiring harness is a dynamic structure. It moves with suspension travel, flexes with steering input, vibrates at engine frequency, and bakes near exhausts and radiators. Over time, copper work-hardens, insulation fatigues, and connectors become stress concentrators.
Key technical practices to preserve harness health:
Steering head flex inspection
With the bike on a stand, bars at full lock left and right, watch the harness. You’re looking for: - Tight spots where the harness is pulled taut - Chafing at brackets or the frame - Audible creaks or visible twisting at connectors
Any section that goes tight at full lock should be rerouted or given slack. Tight harness segments are future open circuits.
Correct strain relief
Harnesses should never hang from a connector. The connector should be supported by the harness, not the other way around. Use: - OEM clips and routing channels - High-temp zip ties sparingly, with small gaps to avoid crushing the sleeve - Spiral wrap or braided sleeving where the harness passes near sharp edges
Heat zoning
Anywhere the harness runs near the exhaust, engine, or radiator, you want: - Heat shielding (reflective wrap or fiberglass sheathing where needed) - Clearance from direct hot airflow where possible - No zip ties directly touching exhaust brackets or hot metal
Connector retention and waterproofing
For connectors exposed to spray: - Confirm positive latch engagement—if you can pull it apart easily, it’s not locked - Use dielectric grease on seal lips and the outside of terminals (not globbed on the contact faces) to keep moisture out - Replace cracked weather seals; they matter more than riders think
Harness integrity isn’t glamorous, but it’s what keeps that immaculate engine from becoming a static sculpture in your garage.
Battery Chemistry by Design: Matching Power Source to Real Use
Battery choice is a system-level engineering decision, not just a weight-loss hack. Each chemistry has distinct behavior under real-world riding conditions.
Lead-acid AGM (Absorbed Glass Mat):
- Pros:
- Robust under moderate abuse
- Tolerant of cold starts
- More forgiving of charging system imperfections
- Cons:
- Heavier for the same cranking amps
- Sulfation if left partially charged for long periods
- Best for: Daily riders, mixed weather, bikes with older regulators or marginal charging systems.
LiFePO4 (lithium iron phosphate):
- Pros:
- Very high cranking power for weight
- Low self-discharge during storage
- Stable chemistry, relatively safe compared to other lithium types
- Cons:
- Requires compatible charging profile—overvoltage kills them
- Can perform poorly in very cold conditions until “warmed” by load
- Less warning before failure—more like a switch than a slow fade
- Best for: Performance builds, track bikes, riders who monitor voltage and system health regularly.
Technical points to respect regardless of chemistry:
- Correct capacity sizing:
Don’t under-spec amp-hours chasing weight. Aggressive tuning, high-compression engines, or cold climates benefit from a slightly higher capacity than “bare minimum.”
- Charging profile match:
- Regulator output stays within the battery’s specified range at all rpms
- No “load dump” spikes (e.g., disconnecting large loads suddenly with a weak regulator)
- Compatible external charger—standard lead-acid trickle chargers can damage some lithium batteries.
- Parasitic draw testing:
- <1–2 mA is great
- 5–20 mA may be acceptable depending on alarms/trackers
- 50 mA+ is a slow kill—find and fix the draw
If you upgrade to lithium, verify:
With the bike off, measure current draw from the battery with a multimeter in series:
Match your battery to your riding reality, then treat it like a critical component, not a disposable consumable.
Load Management: Engineering Your Electrical Budget
Every modern accessory you add is drawing from a finite power budget. Heated grips, heated gear, auxiliary lights, GPS, phone chargers, mini-compressors—these are not “zero cost” toys; they are continuous load on your stator and regulator.
The technical approach is to treat your electrical system like an engineering project:
Determine your alternator output
Look up your bike’s stator/alternator rating in watts (W). Example: 400 W at 5k rpm.
Estimate stock consumption (approximate values; check service data if available):
- EFI & ECU: 50–100 W - Ignition coils: 30–60 W - Fuel pump: 30–70 W - Headlight (halogen): 55–110 W (low/high) - Tail/brake/indicators: 10–25 W - Cooling fan: 40–80 W (when running)
Add them under “typical riding” conditions. Say you get ~240 W.
Calculate remaining margin
Alternator: 400 W Typical load: ~240 W Margin: ~160 W
That’s the realistic energy budget for heated gear and accessories when cruising.
Accessory load math
Convert accessory amp ratings to watts: P = V × I (assume ~14 V system when charging). - Heated grips: 3 A → ~42 W - LED auxiliary lights: 2 A → ~28 W - Heated jacket: 7 A → ~98 W
In this scenario, grips + jacket + aux lights: 42 + 98 + 28 ≈ 168 W. You’ve exceeded the comfortable margin already, especially at idle or in traffic.
Operational strategy
- Prioritize loads: heated gear > phone charger > lights for visibility, etc. - Use lower power modes when stuck at idle or low rpm. - Watch the voltmeter if you have one. Below ~13.0 V with engine running for sustained periods means you’re dipping into the battery.
By respecting the math, you keep your regulator cooler, your stator alive, and your battery out of the over-discharge zone. That’s not just reliability—it’s range, comfort, and safety in bad conditions.
Conclusion
Electrical maintenance isn’t about chasing gremlins; it’s about removing uncertainty from the system. When you know your baseline voltages, when your grounds are engineered rather than improvised, when your harness is protected, when your battery chemistry matches your reality, and when your load budget is calculated—not guessed—you turn your motorcycle into a predictable machine in an unpredictable world.
The mechanical soul of the bike may live in the engine, but its consciousness is electrical. Treat that hidden circuit with the same obsession you bring to tire choice and suspension sag, and you’ll discover a different kind of confidence: the confidence that when you thumb the starter at the edge of nowhere, the answer will always be yes.
Sources
- [Motorcycle Electrical Systems – Basic Charging and Starting](https://www.cycleworld.com/how-to/motorcycle-charging-system-repair-basics/) - Cycle World’s overview of motorcycle charging systems and troubleshooting fundamentals
- [Yuasa Battery Technical Manual](https://www.yuasabattery.com/resources/technical-manual/) - Detailed reference on lead-acid battery behavior, charging profiles, and maintenance
- [Shorai Lithium Iron Battery FAQ](https://shoraipower.com/faq) - Manufacturer guidance on LiFePO4 motorcycle batteries, charging requirements, and sizing
- [NHTSA Motorcycle Safety – Vehicle Factors](https://www.nhtsa.gov/road-safety/motorcycles) - U.S. government information on motorcycle safety and reliability-related considerations
- [MIT OpenCourseWare – Introduction to Electricity and Magnetism](https://ocw.mit.edu/courses/8-02sc-physics-ii-electricity-and-magnetism-fall-2012/) - Foundational electrical theory useful for understanding voltage, current, and resistance in motorcycle systems
Key Takeaway
The most important thing to remember from this article is that this information can change how you think about Maintenance.


