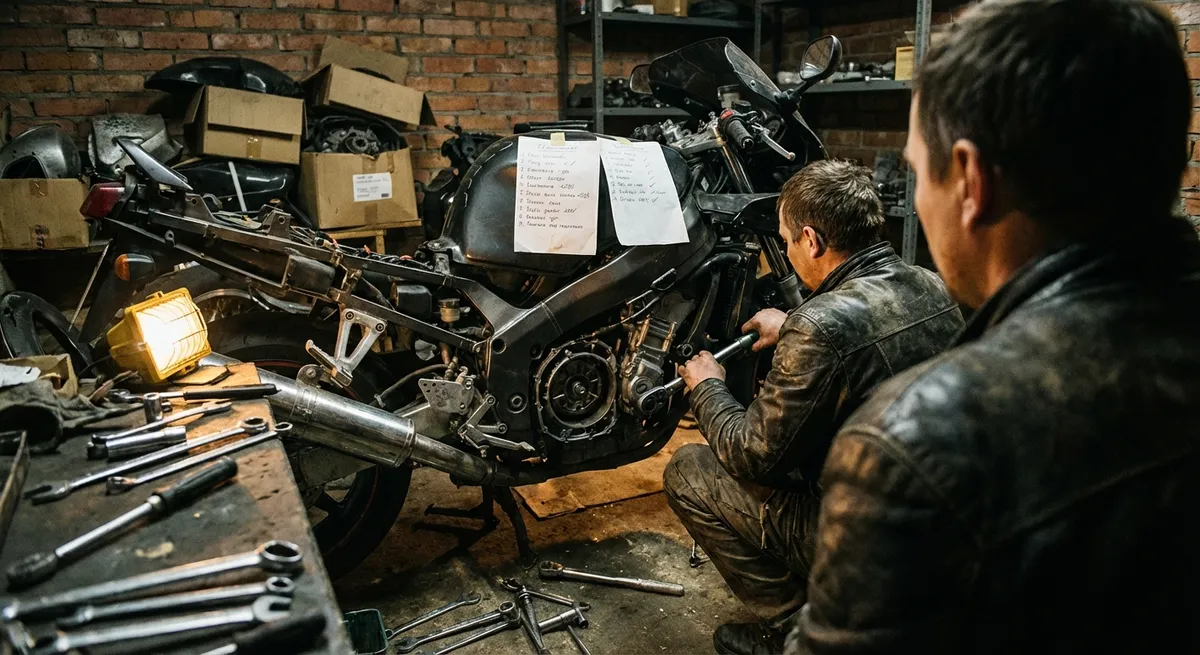
A motorcycle that feels “right” isn’t an accident—it’s the result of a maintenance mindset that treats every component like a data point. Not just oil changes on a schedule, but an ongoing calibration of clearances, fluids, torque values, and wear patterns. When you stop treating maintenance as a chore and start treating it as mechanical quality control, the bike stops aging and starts stabilizing. This is how you keep a machine from slowly lying to you about its true condition.
This isn’t a basic checklist. We’re going to walk through five technical maintenance concepts that directly affect how your bike brakes, turns, accelerates, and talks back to you on every ride.
Load Paths, Not Just Parts: Maintaining the Chassis as a System
Most riders think in terms of individual parts: “How’s my chain? My tires? My bearings?” The bike doesn’t care about parts—it cares about load paths. The forces from your contact patches travel through a continuous structure: tire → wheel → bearings → axle → suspension → frame → swingarm → drivetrain. Any slop, contamination, or deformation along that chain changes how the bike responds.
Start with steering head and wheel bearings. These aren’t just “smooth or not”; they define how accurately the bike reacts to steering input under load. A notched steering bearing might feel fine in the garage but will cause vague turn-in and self-correction mid-corner. You should periodically lift the front end, unload the bearings, and slowly sweep the bars lock to lock, feeling for micro-notches and checking for free play by pushing/pulling the lower fork legs. Then torque the steering stem to spec—not just “tight”—because over-torqued bearings bind under side load and under-torqued bearings hammer themselves to death.
Wheel bearings are the same story. Grab the wheel at 12 and 6 o’clock and feel for play, then 3 and 9. Spin and listen—not just for noise, but for “gravelly” texture. Replace at the first sign of roughness; by the time you hear them on the road, they’ve been distorting your line for a while. When you install new bearings, press on the outer race only, confirm they’re fully seated, and ensure spacers are present and correctly oriented. A missing or inverted spacer will preload the bearings sideways when you torque the axle, and you’ll never see it until it’s cooked.
The mindset shift: you’re not “checking bearings,” you’re verifying that the steering and rolling load paths are clean, correctly preloaded, and transmitting forces without lag or distortion.
Braking as a Thermal System: Pads, Fluid, and Rotor Integrity
Your front brake isn’t just a lever—it’s a heat conversion system. Your maintenance goal is to keep that system thermally efficient and hydraulically consistent.
Pads: Stop treating them like a wear bar problem and start treating them like a friction material system. Different compounds (organic, semi-metallic, sintered) have different temperature windows and fade behavior. If you ride aggressively in hills or on track, sintered pads with higher thermal stability are critical—but they demand that your rotor be in-spec for thickness and runout. Measure rotor thickness with a micrometer at multiple locations around the disc; compare to the minimum thickness stamped on the rotor. Then check lateral runout with a dial indicator. Excessive runout creates lever pulsing, uneven pad wear, and hot spots that alter pad friction consistency.
Brake fluid: This is where a lot of riders cheat themselves. DOT ratings (3, 4, 5.1) are boiling-point standards, not performance badges. High dry boiling point is useless if your fluid is moisture-laden from sitting through seasons of humidity and thermal cycling. Hygroscopic fluid (DOT 3, 4, 5.1) absorbs water over time, dropping its true boiling point and creating a squishy, inconsistent lever. You should flush fluid at least every 1–2 years for street use, more often if you ride hard or see heavy braking. And don’t just “top off”—bleed through fresh fluid until it runs completely clear and bubble-free at each caliper and at the master cylinder if there’s a bleed port.
Calipers and sliding components: Clean and inspect pad pins, anti-rattle springs, and caliper slides (if applicable). Corroded pad pins cause uneven pad motion and contribute to taper wear. Seized sliding pins on floating calipers prevent the caliper from centering, overheating one pad and warping the rotor. A small amount of high-temp brake grease (never on friction surfaces) at the right points can make the difference between consistent braking and vague, noisy, grabby nonsense.
When you finish, the lever should feel like a hydraulic gauge: minimal free travel, predictable ramp-up in pressure, no creeping at sustained pressure. If it doesn’t, you haven’t completed the job—you’ve just replaced parts.
Chain Tension as Suspension Geometry: Beyond “Two Fingers of Slack”
Chain adjustment isn’t cosmetic or purely about wear—it directly influences rear suspension behavior and, indirectly, chassis geometry. The “two fingers of slack” rule is a rough guess that often falls apart with longer-travel suspensions, non-stock sprocket sizes, or modified ride heights.
The true geometric reference for chain tension is the alignment of three points: front sprocket center, swingarm pivot, and rear axle. Chain tension is at its maximum when those three line up. Your goal is to ensure that at this worst-case position, the chain has just enough slack not to bind. You can simulate this by compressing the rear suspension (using a ratchet strap, a helper, or a proper suspension jack) until the swingarm is roughly level or those three points visually align. Then check slack at that position and set it to the minimum recommended slack from the service manual.
This approach prevents the chain from acting as a hard limiter on suspension travel. An over-tight chain will artificially “lock” the rear under heavy load, transmit shock into the output shaft bearing, and can induce harshness that riders mistakenly blame on shock damping. It also massively accelerates wear on chain, sprockets, and transmission output components.
While you’re there, treat the chain as a rotating mechanical joint system, not just a “thing to lube.” Check for:
- Tight spots: Rotate the wheel and find the tightest location, then set slack based on that point.
- Side flex: Try to wiggle links sideways; seized or partially frozen links are a failure in progress.
- Sprocket geometry: Look for hooked teeth, thinning profiles, and cupping on the drive side.
Clean with a compatible chain cleaner (especially for O/X-ring chains) and use an appropriate lubricant. Over-lubing creates an abrasive paste that grinds away at everything it touches. Aim for a thin, even film on the inside run of the chain, applied hot after a ride, to maximize penetration and solvent evaporation.
Suspension Service as Precision Damping, Not Just “Fresh Oil”
Suspension is where maintenance becomes pure engineering. Fork and shock internals are doing high-speed fluid dynamics thousands of times every ride, and every mile degrades the oil’s viscosity, the seals’ integrity, and the gas charge in the shock.
Forks first. Fork oil doesn’t just “get dirty”—it shears down, losing viscosity and altering the damping curve. That means the fork you tuned last season is a different fork today. A full fork service includes:
- Draining and replacing oil with the specified viscosity (or a tuned alternative you’ve tested)
- Setting oil level (air gap) accurately, since it controls end-stroke progression
- Inspecting and replacing bushings and seals as needed
- Verifying stanchion condition—pitting kills seals and contaminates oil
Air gap is critical and often ignored. Too little air (too much oil) makes the fork excessively progressive and harsh near full compression; too much air allows bottoming and vague support in hard braking or big hits. Measure with a proper fork oil level tool, not guesswork.
Rear shock: Many OEM shocks are treated as “lifetime” components. That’s fantasy. The nitrogen charge bleeds off over time, oil breaks down, and shim stacks don’t move like they were designed to. If your bike has a rebuildable shock, a professional service (new seals, fresh oil, nitrogen recharge, inspection of wear surfaces) every 20–30k km (or sooner for aggressive use) keeps the damping curve close to factory intent. If it’s a non-rebuildable budget shock and you ride hard, replacing it with a serviceable unit might be the cleanest “maintenance upgrade” you can do.
To close the loop, combine service with a sanity check on static and rider sag. Incorrect sag points to either spring rate mismatch or preload issues, and no amount of “clicker tuning” can fix a fundamentally wrong spring. Maintenance here isn’t just about refreshing oil—it’s about ensuring the suspension is operating within its designed kinematic window.
Electrical Integrity: Treating Voltage Like a Critical Fluid
Modern motorcycles are rolling networks: fuel injection, ABS, ride-by-wire, traction control, TFT displays, CAN bus. All of it rides on the back of stable voltage and clean connections. Electrical maintenance is less glamorous than shiny levers, but it’s the difference between a bike you trust and a bike that randomly gaslights you with ghost faults.
Start with the battery as a system, not just a brick. Check:
- Resting voltage after sitting 12–24 hours (healthy AGM typically around 12.6–12.8V; lithium slightly higher depending on chemistry)
- Cranking voltage under starter load (should not collapse below manufacturer minimum, often ~9.6–10V for many systems)
- Charging system output: measure across the battery terminals at idle and around 4–5k rpm. Expect roughly 13.5–14.5V for most bikes. Consistently low or high values point to regulator/rectifier or stator issues.
Connections and grounds: Corrosion creates resistance; resistance creates heat; heat creates intermittent failures. Pull and inspect main ground points and primary power lugs (battery terminals, frame grounds, engine grounds, starter cable connections). Clean them with contact cleaner, lightly abrade if needed, and reassemble with proper torque and, where appropriate, a small amount of dielectric grease around (not between) the contact surfaces to seal against moisture.
Harness and connectors: Visually track high-movement areas—headstock, under the seat, tail section. Look for chafing, pinched runs, and poorly supported aftermarket wiring (aux lights, heated grips, GPS, etc.). Any added accessory should be fused, ideally run through a relay, and tied into the harness in a way that doesn’t overload OEM circuits. A cleanly wired auxiliary fuse block simplifies this and centralizes failure points.
Finally, treat your charging port or tender lead as part of the system. A corroded tender connector can introduce resistance and mislead you into diagnosing the battery instead of the wiring. If your battery “dies too soon,” measure and verify—don’t guess.
Conclusion
Maintenance isn’t about keeping your bike “like new.” It’s about keeping it mechanically truthful. Every bearing you torque correctly, every rotor you measure instead of eyeball, every chain you tension based on geometry rather than guesswork—these decisions stack. They define how precisely your bike responds when you commit to a corner, trail the brakes to the apex, or pin the throttle onto a fast straight.
When you adopt a zero-drift maintenance mindset, your motorcycle stops slowly drifting away from its engineered intent. You’re not just preserving hardware—you’re preserving the accuracy of the feedback loop between you and the machine. And that’s where real confidence comes from.
Sources
- [NHTSA Motorcycle Maintenance & Safety Tips](https://www.nhtsa.gov/road-safety/motorcycles) - U.S. government guidance on safe motorcycle operation and the role of proper maintenance
- [Honda Powersports – Motorcycle Maintenance Basics](https://powersports.honda.com/motorcycle-maintenance) - Official manufacturer recommendations on key maintenance tasks and intervals
- [Yamaha Motors – Sport Motorcycle Technical Information](https://www.yamahamotorsports.com/sport-motorcycle/pages/maintenance) - Technical maintenance guidance and service insights from a major OEM
- [RevZilla – Motorcycle Brake Pad & Rotor Guide](https://www.revzilla.com/common-tread/how-to-choose-motorcycle-brake-pads-and-rotors) - In-depth explanation of brake pad compounds, rotor wear, and brake system behavior
- [BikeBandit – Motorcycle Chain and Sprocket Maintenance Guide](https://www.bikebandit.com/blog/motorcycle-chain-and-sprocket-maintenance-101) - Detailed overview of chain tension, lubrication, inspection, and sprocket wear patterns
Key Takeaway
The most important thing to remember from this article is that this information can change how you think about Maintenance.


