There’s a moment—rolling out of your driveway, first lean, first brake application—when a bike tells you exactly who it is today. Tight. Precise. Or vague, loose, slightly off. That feeling isn’t magic; it’s maintenance discipline expressed as mechanical certainty. This isn’t about polishing fairings or checking oil once a season. This is about eliminating slop, play, and guesswork so your motorcycle responds like a well-tuned instrument every single time.
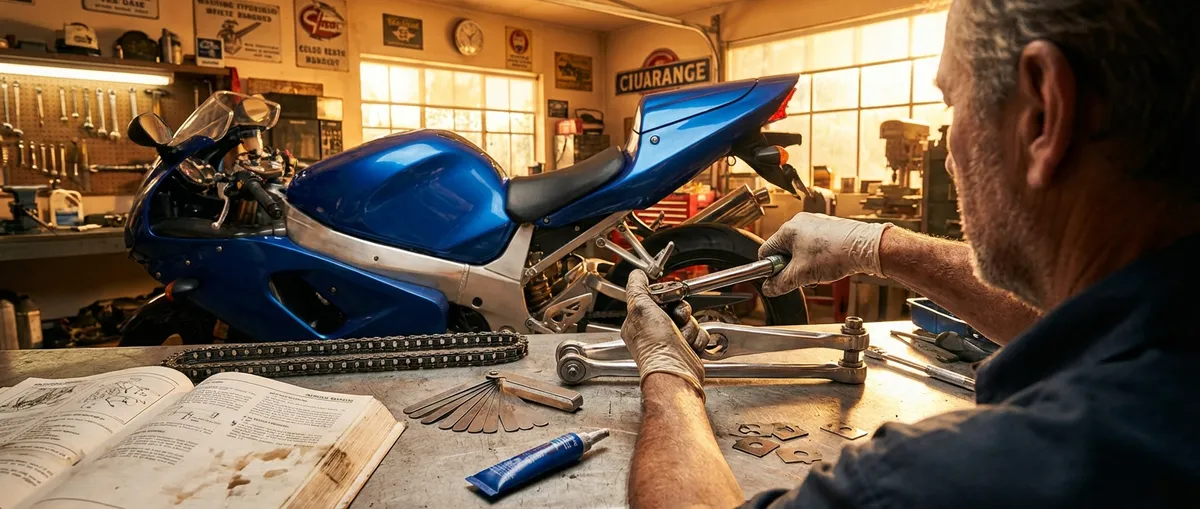
Point 1: Chain Dynamics and Real-World Tension Management
Your chain is a live, moving link between crankshaft torque and rear tire thrust. Treating it like a static part is how you end up with snatchy throttle response, accelerated sprocket wear, and unstable chassis behavior mid-corner.
A proper chain setup starts with understanding that recommended slack is based on swingarm geometry. As the suspension compresses, the distance between the countershaft sprocket and rear axle changes—usually reaching maximum length somewhere around the line where the countershaft, swingarm pivot, and rear axle are roughly collinear. That’s why you never set slack with the rear completely topped out or wildly compressed: you want the bike at normal ride height or on its wheels.
Use the manufacturer’s spec as your baseline, then measure at the tightest spot in the chain by rotating the rear wheel and checking multiple points. Chains rarely wear perfectly evenly; one section is almost always tighter. Set overall slack based on that tightest section.
A chain that’s too tight transmits shock loads directly into the countershaft bearings and output shaft, and it can bind the suspension under compression. Too loose, and you get lash: that “clunk” on throttle transitions and a jerky feel in low gears that kills traction and rider confidence. After adjusting, lock the axle, re-check slack, and critically—inspect sprocket teeth for hooking, shark-fin shapes, or uneven wear. Replace chain and sprockets as a matched set; mixing old and new just accelerates failure.
Lubrication matters less for rust and more for managing roller and O-ring friction. Apply lube to the inner run of the chain after rides (when it’s warm) so capillary action pulls it into the rollers. Wipe excess; a chain covered in sticky dirt is a grinding paste, not a sealed system.
Point 2: Steering Head and Wheel Bearings – The Invisible Geometry Keepers
If your bike suddenly feels nervous on the freeway, vague in corners, or reluctant to hold a line, your bearings are often the silent culprits. Steering head and wheel bearings maintain the geometric truth of your chassis; when they develop play or brinelling (tiny impact dents), you feel it as instability and imprecision.
Start with the steering head. With the front wheel off the ground, lightly turn the bars lock to lock. You’re hunting for “notchiness” around center. If the bars resist or “click” through the straight-ahead position, the bearings have developed grooves from repeated loading under braking. That’s not just an annoyance; it forces micro-corrections mid-corner and can make the front wheel hunt on corner entry.
Next, check for axial play. Grab the lower fork legs and push/pull fore and aft while watching the headstock area. Any perceptible movement means your steering head bearings are either loose or damaged. Proper adjustment is a two-step process: pre-load (to seat the bearings) and then back off and set final torque per the service manual. Too tight and steering becomes heavy and self-centering; too loose and you invite wobble at speed.
Wheel bearings are similarly critical. With the wheel in the air, spin it slowly and listen. You’re looking for grinding, roughness, or a “dry” tone. Then grab the tire at 3 and 9 o’clock and rock it sideways. Any movement independent of fork flex or swingarm flex suggests bearing play. A fresh set of quality bearings is cheap insurance against wheel lockup or mid-corner geometry shifts.
Don’t ignore this: a bike with rock-solid bearings feels telepathic, tracks clean lines, and resists headshake. A bike with worn bearings fights you at every input.
Point 3: Brake System Integrity Beyond Pad Thickness
Pads and rotors are just the visible components. The real performance—and safety—of your braking system lives in fluid integrity, caliper condition, and system stiffness.
Brake fluid is hygroscopic; it absorbs moisture from the air. That moisture lowers boiling point and promotes internal corrosion. Even if your fluid “looks fine,” its wet boiling point can be dramatically reduced after a couple of years. Under heavy braking—spirited canyon runs, track days, or aggressive commuting—this can mean vapor formation in the lines, a soft lever, and sudden fade.
Flush your fluid at least every 1–2 years, and more often if you ride hard or live in a humid climate. Use fresh, unopened DOT-rated fluid specified by your manufacturer. When bleeding, don’t just chase air at the calipers. Tap the lines, master cylinder, and banjo fittings with a plastic handle to dislodge trapped micro-bubbles. The difference between a “good enough” bleed and a truly solid lever is often patience and vibration.
Inspect calipers for uneven pad wear. If one pad is significantly thinner, you may have a sticky piston or a binding caliper slide. Remove the caliper, clean the piston surfaces with appropriate cleaner and a soft brush, and gently exercise each piston by pumping the lever with the pads removed (use a spacer to avoid popping pistons out). Cleanliness here is feel: free-moving pistons give a linear, predictable lever.
Don’t ignore hoses. Rubber lines can swell internally, creating delayed or spongy response even if they look fine externally. Braided stainless lines reduce volumetric expansion and sharpen lever feel, but proper routing and secure mounting are critical to prevent chafing and fatigue. Every stop you make is translated through this system; precision here is non-negotiable.
Point 4: Suspension Health as a Wear Item, Not a Lifetime Component
Many riders treat suspension like a fixed property of the bike: “this bike handles like X.” In reality, suspension is a consumable system. Oil shears, seals harden, bushings wear, nitrogen charges bleed. A bike that handled sharply at 10,000 miles can feel vague and wallowy at 30,000—with no obvious “failure,” just quiet degradation.
Fork oil doesn’t just lubricate; it defines damping characteristics. Over time, heat cycles and mechanical shear change viscosity. Old oil turns dark, contaminated with aluminum from tube and bushing wear. That contamination increases stiction and changes damping curves. The result: the fork moves too freely in some regions, too reluctantly in others, and your contact patch management becomes inconsistent.
Servicing forks means more than just dumping oil. Inspect fork bushings for wear marks, check fork tubes for pitting or corrosion (especially in the seal sweep area), and replace seals proactively if you see even a light misting of oil. A tiny leak today can become a blown fork tomorrow—and oil on your brakes or tire is exactly as bad as it sounds.
Rear shocks are often neglected even more. Many OEM shocks are technically non-rebuildable, but they absolutely degrade. Loss of gas pressure allows the oil to foam under repeated compression, reducing damping and causing a “pogo” effect. If your rear feels loose, pumps up over freeway ripples, or squats excessively under throttle, you’re past the point of “just how this bike is.”
Treat suspension service intervals like you treat oil changes—defined, not “whenever.” Even a basic oil refresh and re-valve on a stock shock or fork can transform stability, braking confidence, and mid-corner composure. Suspension health is mechanical trust: knowing the bike will respond with the same language, every time you lean or brake.
Point 5: Electrical Reliability and Voltage Discipline
The modern motorcycle is an electrical ecosystem: fuel injection, ABS, ride-by-wire, traction control, TFT displays, and more. When system voltage dips or spikes, weird things happen—stalls at idle, intermittent warning lights, random no-start conditions that feel like ghosts. They’re rarely ghosts. They’re usually preventable.
Start at the battery. A healthy, fully charged 12 V lead-acid battery at rest should read around 12.6–12.8 V. Below ~12.4 V, it’s already partially discharged. Use a multimeter, not just the dash reading. Then test charging voltage: with the engine at 3,000–4,000 rpm, you should typically see around 13.5–14.5 V at the terminals (check your manual for specifics). Much lower, and your stator or regulator/rectifier may be failing; much higher, and you risk cooking the battery and sensitive electronics.
Connections matter as much as components. A slightly loose main ground strap can cause intermittent cutouts that mimic fuel or ignition issues. Remove and clean battery terminals and main ground points with a small wire brush, then tighten properly and protect with dielectric grease where appropriate. Pay special attention to starter relay terminals and any aftermarket accessory splices.
Speaking of accessories: heated gear, auxiliary lights, GPS, phone chargers—they all draw current. Exceed the alternator’s available output at lower RPM, and the bike dips into battery reserve. Over time, that leads to chronic undercharging and premature battery death. Use a simple current draw calculation (sum of accessory wattage divided by system voltage) and compare it with your bike’s stator output curve if available. Wire heavy-draw accessories through relays and fused circuits, not through tiny factory wires never designed for that load.
Finally, don’t skip basic harness inspections. Look under the seat, around the headstock, and near the tail where the loom flexes. You’re hunting for rubbed-through insulation, crushed bundles under aftermarket seats or luggage racks, and tight bends at zip ties. An electrical system in good health is fundamentally boring: it just works. That boring reliability is the foundation for every ride you’re not stuck on the roadside.
Conclusion
A bike that feels “tight” isn’t stock magic or brand mythology; it’s the compound effect of disciplined maintenance across systems that rarely get Instagram attention. Chain dynamics that respect swingarm geometry. Bearings that keep your chassis true. Brakes that translate lever force into predictable deceleration. Suspension that behaves like a controlled damper, not a tired spring. Electrical systems that deliver clean, stable voltage instead of mysterious glitches.
You don’t need a race shop or exotic tools to build this kind of zero-play precision—just methodical habits, a torque wrench, a multimeter, and a refusal to accept vague feedback as “just how this bike is now.” Every time you eliminate slop, reduce friction, or restore proper preload and pressure, you’re not just maintaining a machine; you’re sharpening an instrument built for speed, control, and trust.
When your motorcycle responds with clarity to every input, you ride differently. More committed. More fluid. More aware. That’s the real payoff of serious maintenance: a bike that answers with certainty every time you ask it a question.
Sources
- [Motorcycle Owner’s Manual Library – Yamaha Motor](https://www.yamahamotorsports.com/motorsports/owners-manuals) – Official manuals with torque specs, service intervals, and system diagrams for reference
- [NHTSA Motorcycle Safety – U.S. Department of Transportation](https://www.nhtsa.gov/road-safety/motorcycles) – Federal guidance on motorcycle safety, including maintenance-related safety considerations
- [Motorcycle Brakes – EBC Brakes Technical Information](https://ebcbrakes.com/articles/motorcycle-brake-pad-information/) – Detailed technical discussion on brake components, wear, and performance characteristics
- [Motorcycle Chain Maintenance – DID Chain](https://www.didchain.com/en/faq/motorcycle_chain_maintenance.html) – Manufacturer recommendations and technical explanations for chain inspection, lubrication, and adjustment
- [Öhlins Motorcycle Suspension Tech Info](https://www.ohlins.com/support/faq/motorcycle/) – Technical FAQs on suspension function, servicing, and performance effects of wear
Key Takeaway
The most important thing to remember from this article is that this information can change how you think about Maintenance.


